div.sticky {
position: -webkit-sticky;
position: sticky;
top: 0;
z-index:1000;
}
TOWSON WEATHER :
58° - 54°, Rainy

* Let's open up Adobe Photoshop & Dreamweaver
*TALK ABOUT HOMEWORK AND STUDENTS' WEBPAGES
**External Style Sheets
<link href="proj1.css" rel="stylesheet" >
styling links
a:link {color:#FF0000;}
h1{
background-color:#CC0;
padding:.5em;
text-align:center;
}
talk about Project #1
Center divs using CSS:
#wrap{
text-align:left;
max-width:1000px;
min-width:600px;
margin-left:auto;
margin-right:auto;
width:60%;
background-color:white;
padding:10px;
}
****changing the background with CSS
html{
height:100%;
overflow-y: scroll;
background: url(bg.png) no-repeat center center fixed;
-webkit-background-size: cover;
-moz-background-size: cover;
-o-background-size: cover;
background-size: cover;
}
Here's something new:
ACTIONS...- You can try using the Actions Window in Photoshop to record what you do.
- After recording any image size changes, you can replay them...
- Then you can go to: File, Automate, Batch...
- You can apply these actions to a folder filled with images files
- And, save yourself hours of time, by not having to reopen, resize, rename, and re-save all your images
*** CSS Positioning & other fun stuff:
*Review: z-index
CSS POSITIONING
Positioning: W3schools
MORE CSS:
*Fixed Full-height "Side Nav"
(Vertical Fixed)
- <ul>
& <li>
- Navigation bars
- CSS OPACITY AND TRANSPARENCY
- CSS Class and ID
- CSS Navigation



.zoom img{
transition: transform .2s;
margin: 0 auto;
}
.zoom img:hover {
-ms-transform: scale(1.5);
/* IE 9 */
-webkit-transform: scale(1.5);
/* Safari 3-8 */
transform: scale(1.5);
}
.gal img{
padding:10px;
text-decoration:none;
}
.gal .opac img {
opacity: 0.5;
}
.gal img:hover {
opacity: 1.0;
}

.logo{
float:right;
position:relative;
top:-50px;
left:20px;
}
.logo img{
border-radius: 50%;
}
.nav1{
width:100%;
background-color:black;
color:#C4C4C4;
height:28px;
font-size:15px;
font-weight:bold;
padding-top:3px;
}
.nav1 a:link{
padding:5px;
padding-left:10px;
background-color:black;
color:#C4C4C4;
text-decoration:none;
-webkit-transition: 1.5s ease-out;
-moz-transition: 1.5s ease-out;
transition: 1.5s ease-out;
}
.nav1 a:hover{
background-color:white;
color:#5135FF;
text-decoration:none;
-webkit-transition: 1.5s ease-in;
-moz-transition: 1.5s ease-in;
transition: 1.5s ease-in;
}
...What's jQuery?
lightBox: lightbox-plus-jquery.min.js
Things you need (for lightBox :)
*Make sure you have prev.png, next.png, close, etc... in an "images" folder saved as images
/* css: ( put this in your <head> section...) */
<link href="css/lightbox.css" rel="stylesheet">
// js: ( put this above your "closing" </body> tag! )
<script src="js/lightbox-plus-jquery.min.js"></script>
<!-- html images: -->
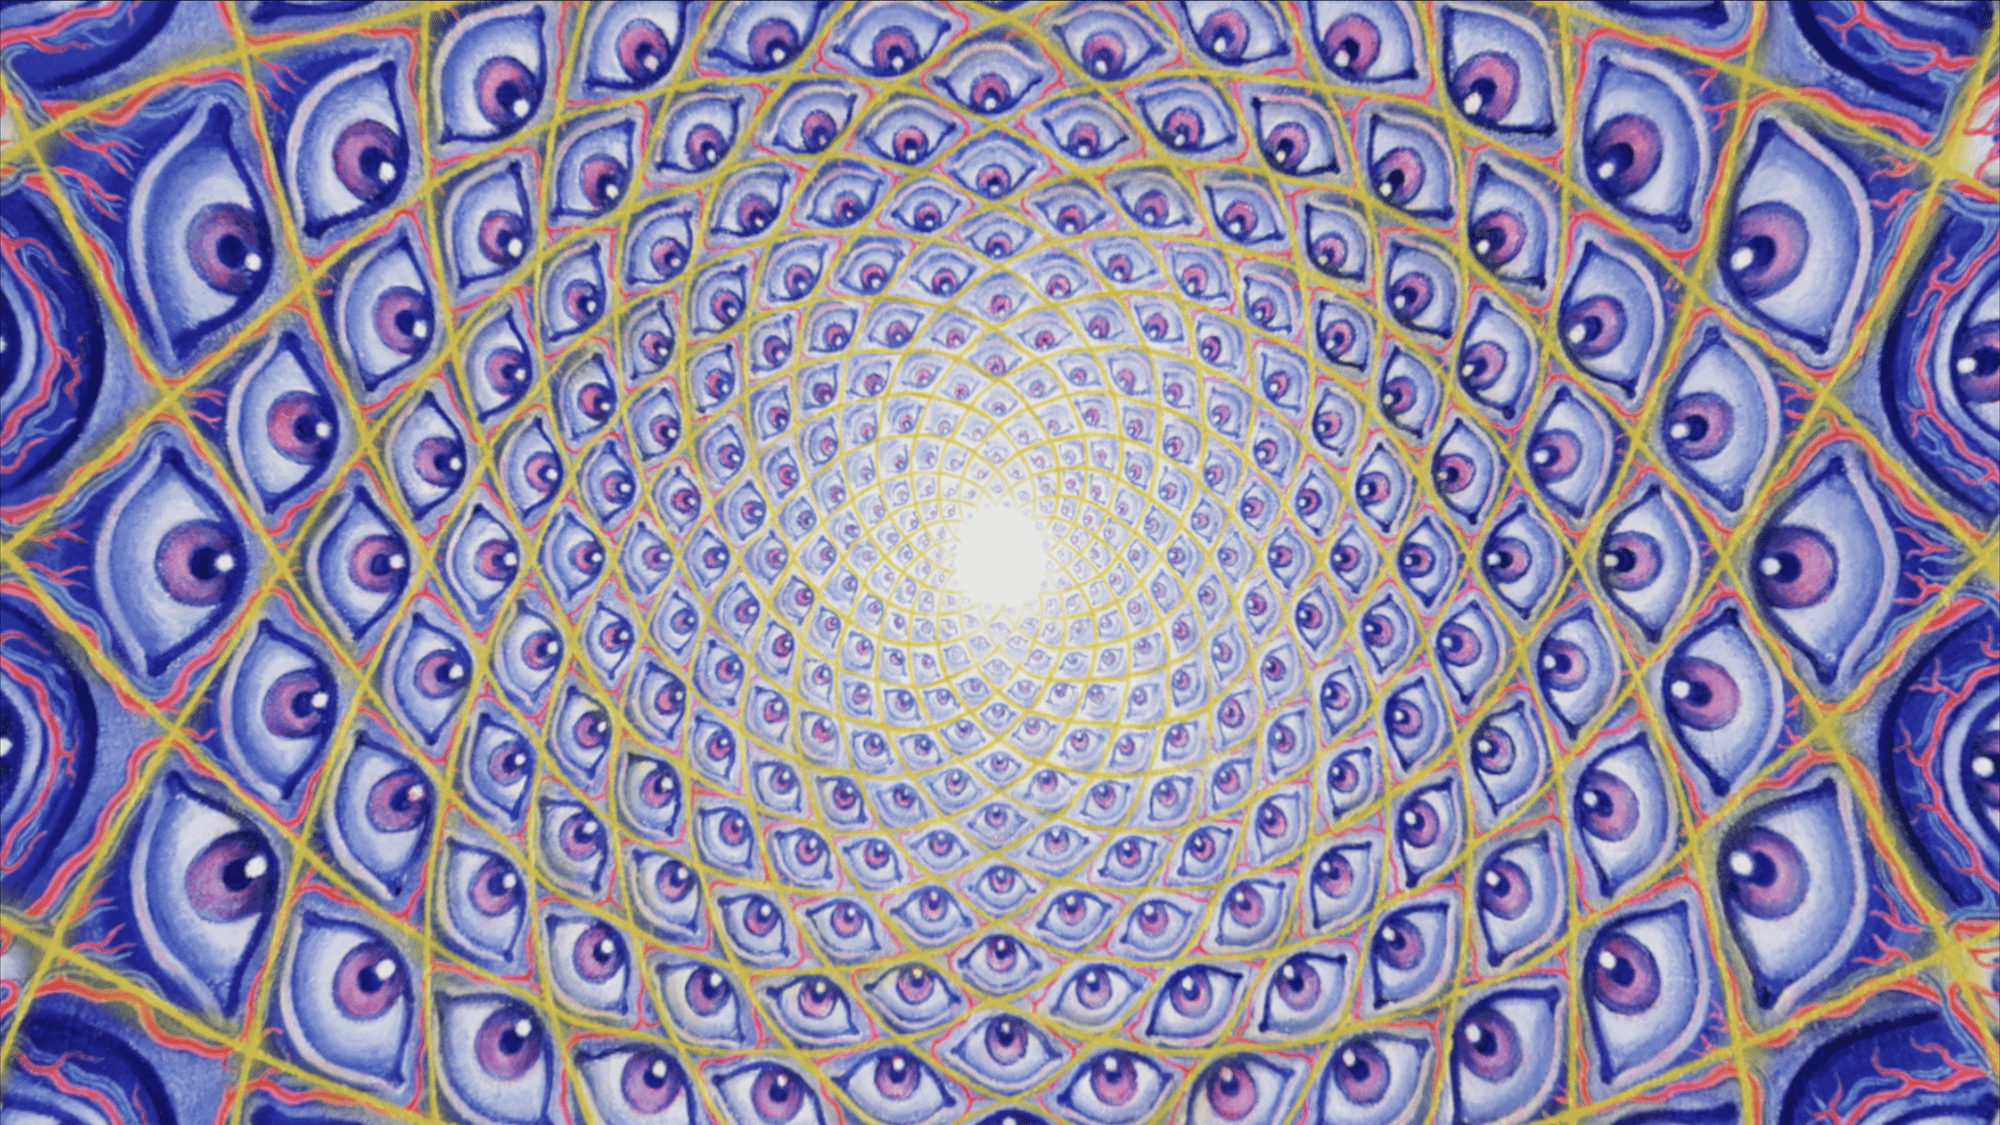
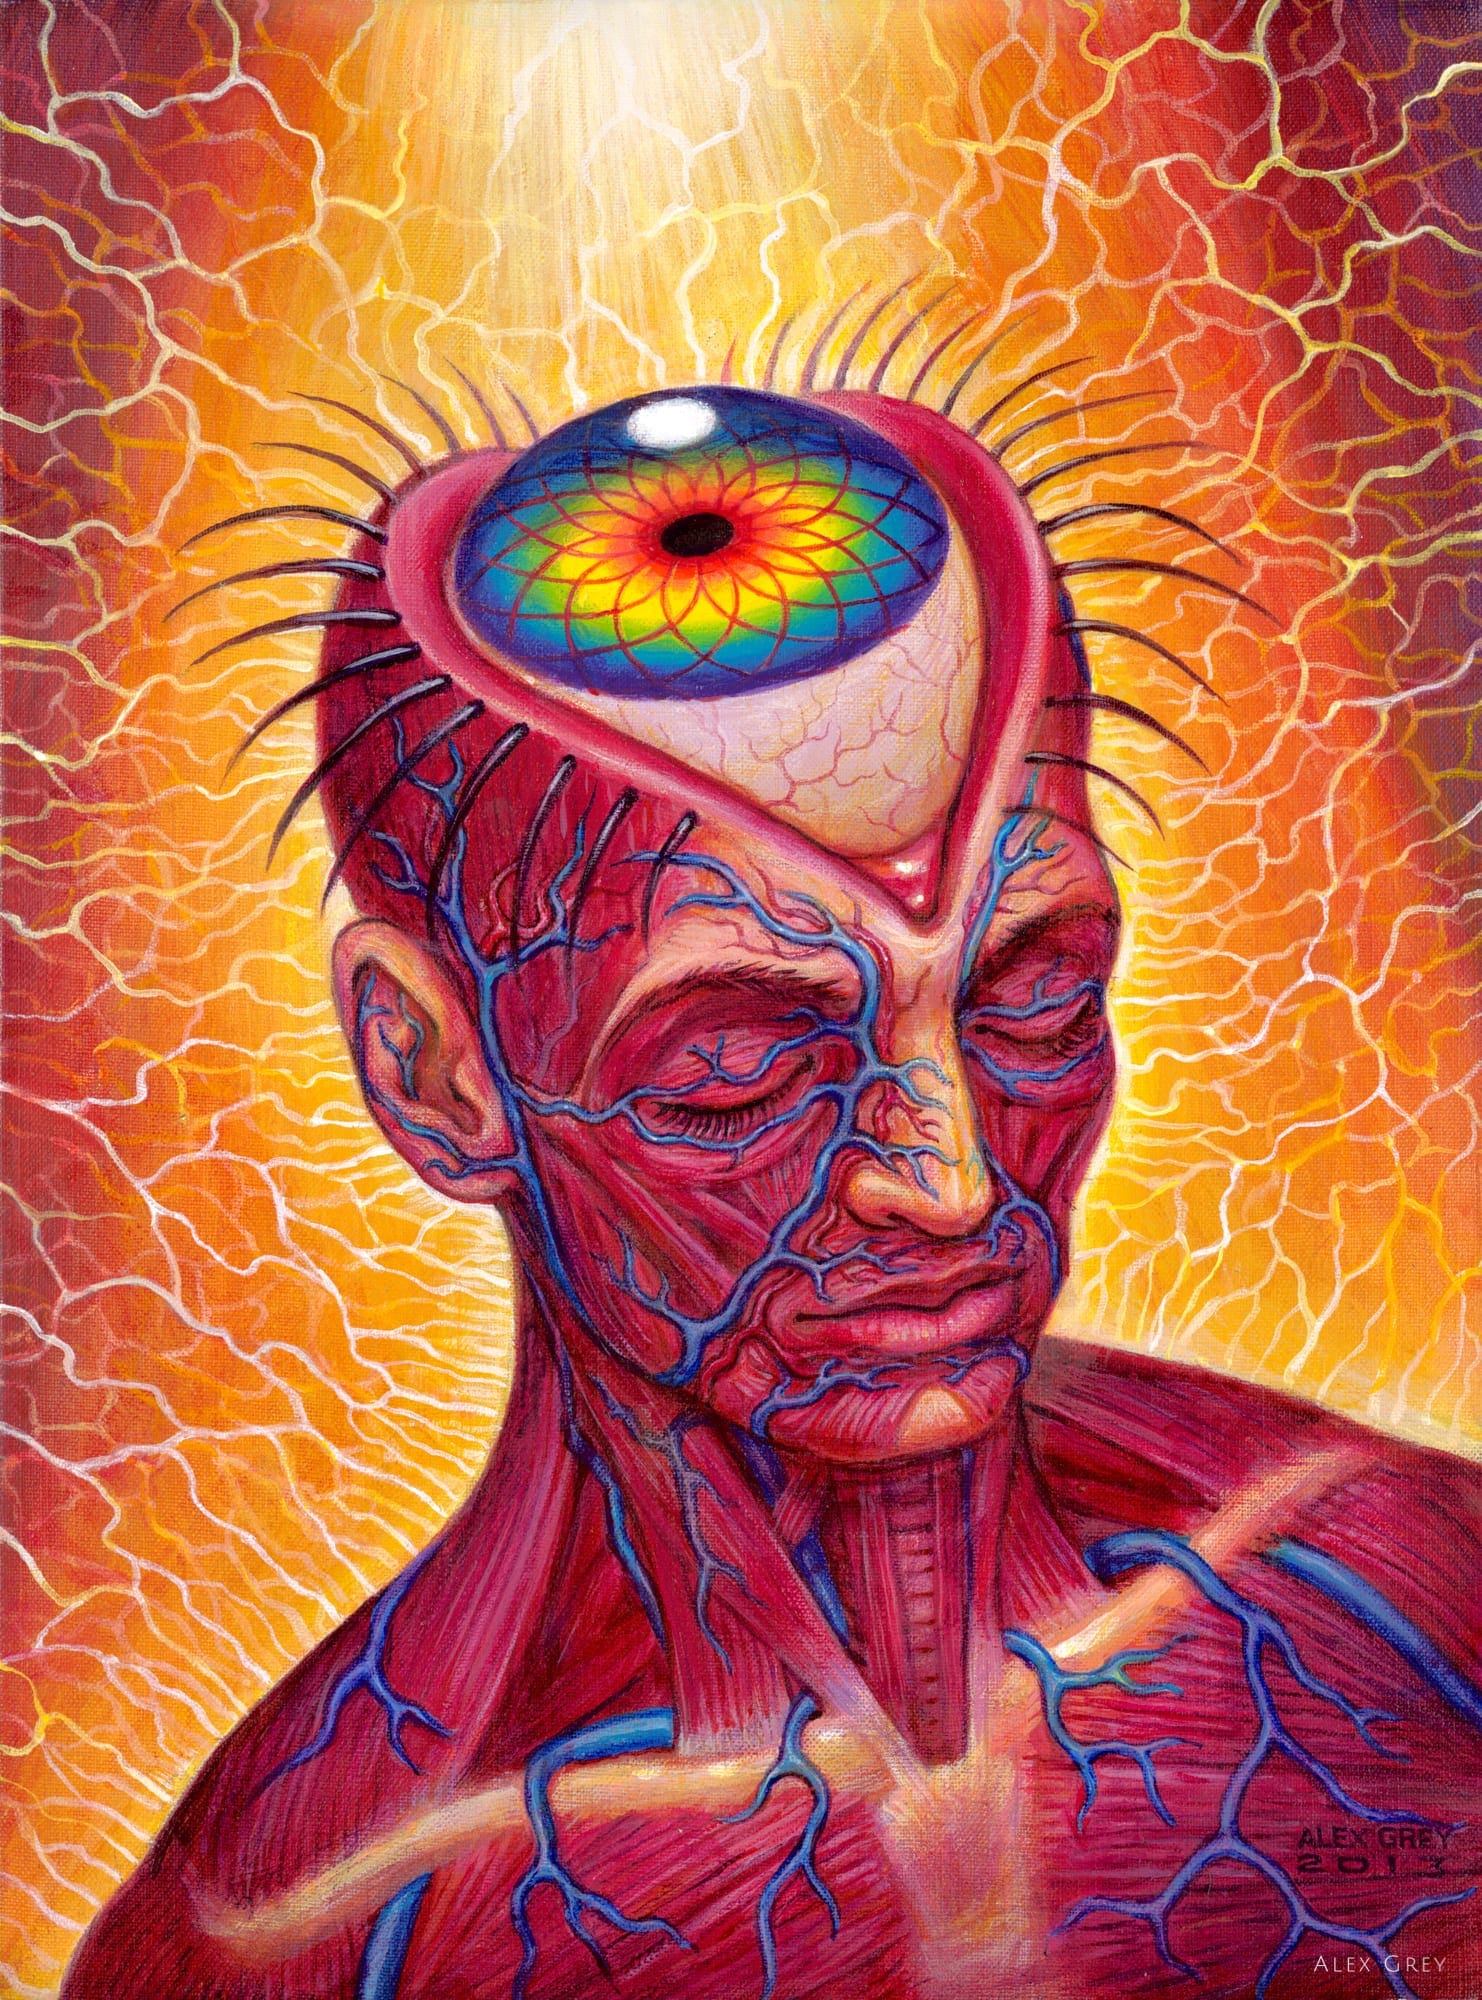
<a href="1.jpg" data-lightbox="visionary" data-title="Art by Amanda Sage">
<img src="1.jpg"></a>
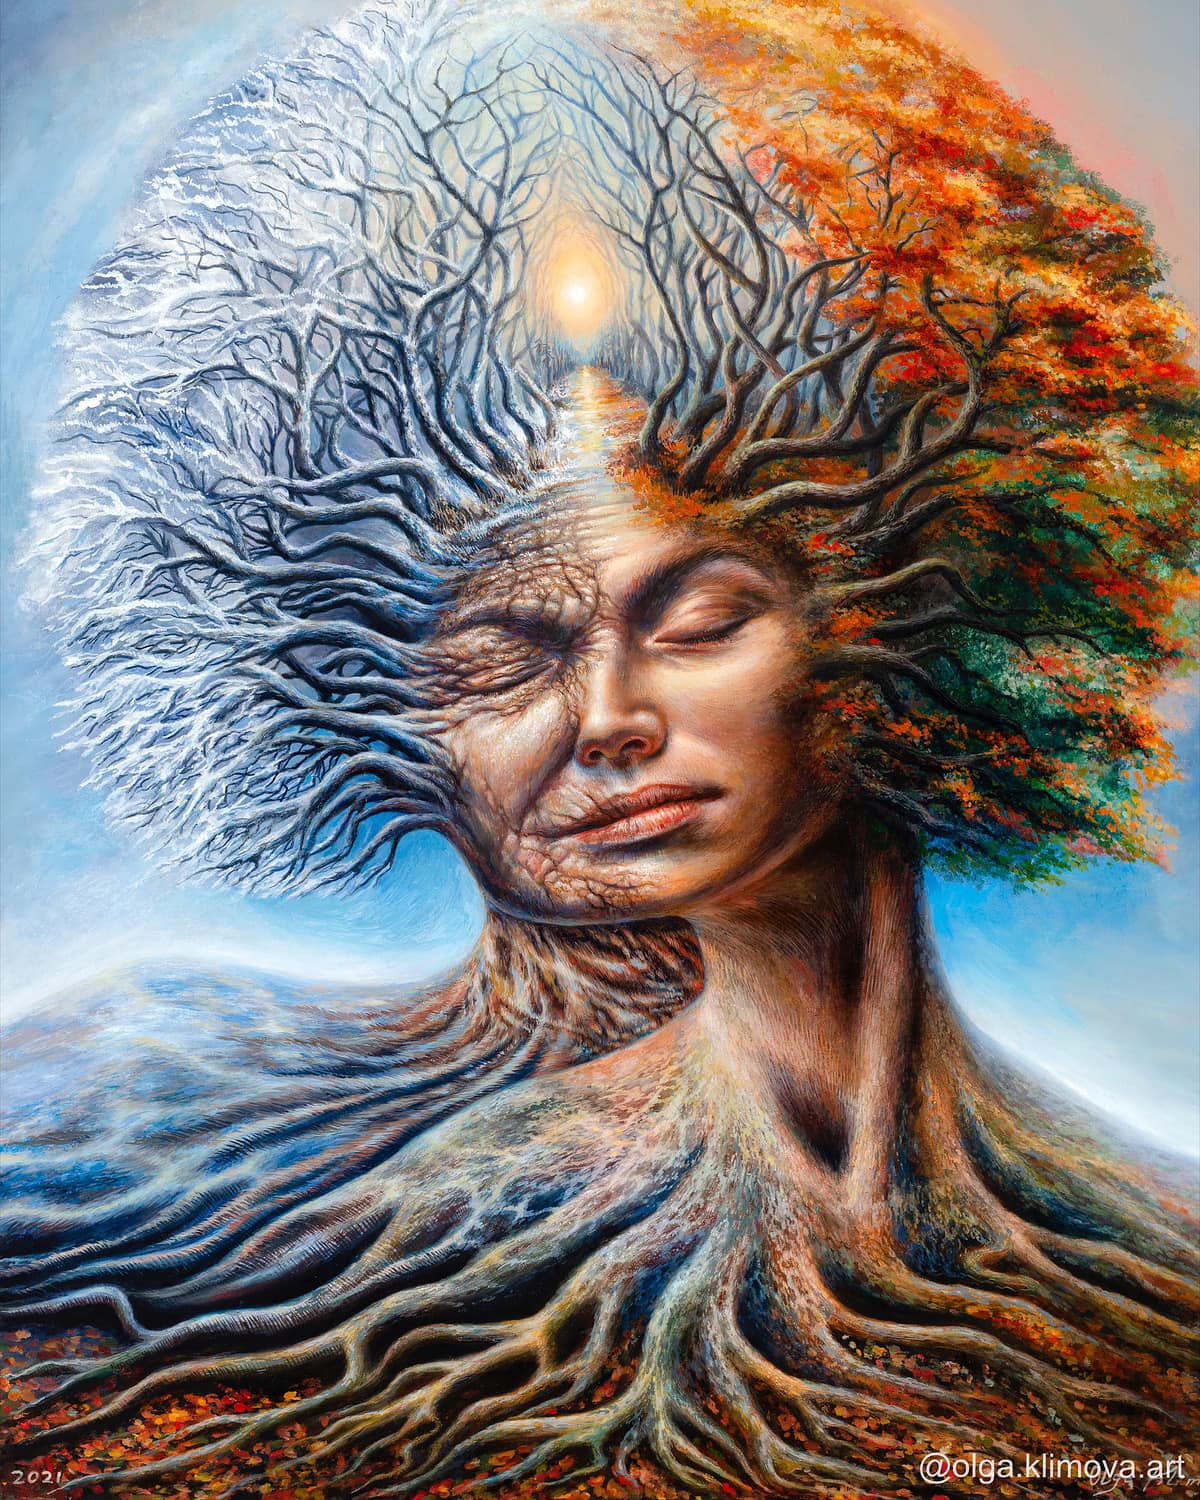
<a href="2.jpg" data-lightbox="visionary" data-title="Art by Olga Klimova">
<img src="2.jpg"></a>
How to add a youTube video...
<iframe width="560" height="315" src="https://www.youtube.com/embed/0_YJToyOp_4" title="YouTube video player" frameborder="0" allow="accelerometer; autoplay; clipboard-write; encrypted-media; gyroscope; picture-in-picture" allowfullscreen></iframe>
Cosmic Creativity - how art evolves consciousness
Alex Grey at TEDx Maui2013
HOMEWORK:
KEEP WORKING ON PROJECT #1
- make your webpages look better
- finish a rough draft of the project (that means completed html pages w/ css)
*Have a logo, a navigation bar and at least
1 or 2 .html pages completed.
When planning your CSS styles, start by coming up with a limited color palette.
Think about how the overall color scheme can complement the artwork that you will be displaying on the webpage.
Remember...
Required materials for this class:
(1) a flash drive or hard drive: 2GB or more
(some external device to store your work on)
(2) *Personal Web Space (Towson user accounts are fine)
(3) a sketchbook, something not too big, about 8x10 inches
(for notes and sketches)
(4) something to write & make drawings with