Week #7
TOWSON WEATHER :
49° - 32°, Clear skies
Talk about Student Pages:
https://ryansmithart.com/2023/students.html
talk about Project #1
*Collect wireframes & site structures
**CLASS WORK**
- Add a link from your bio page to your 1st project -
- Assign Project #2
ACTIONS...
- You can try using the Actions Window in Photoshop to record what you do.
- After recording any image size changes, you can replay them...
- Then you can go to: File, Automate, Batch...
- You can apply these actions to a folder filled with images files
- And, save yourself hours of time, by not having to reopen, resize, rename, and re-save all your images


// JavaScript Tutorial
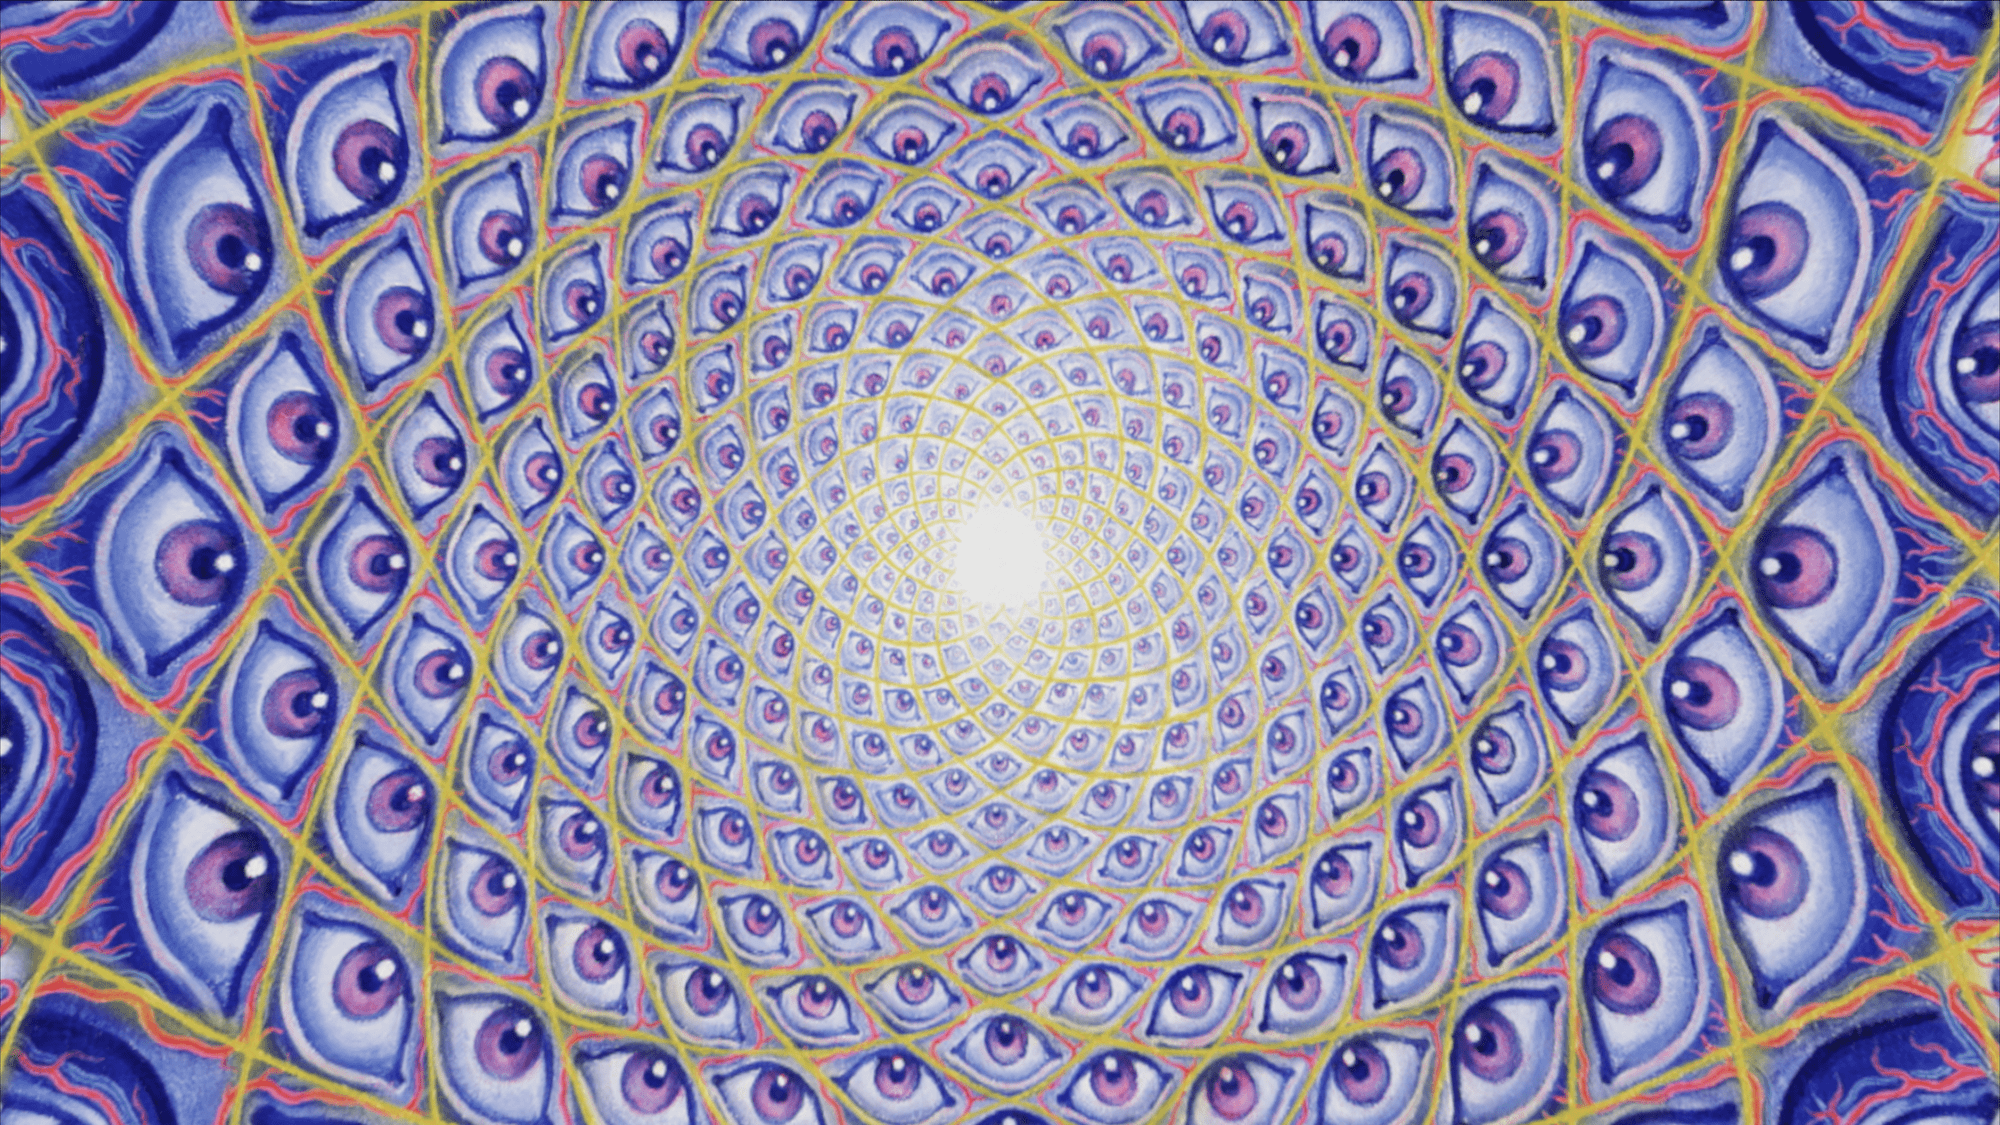
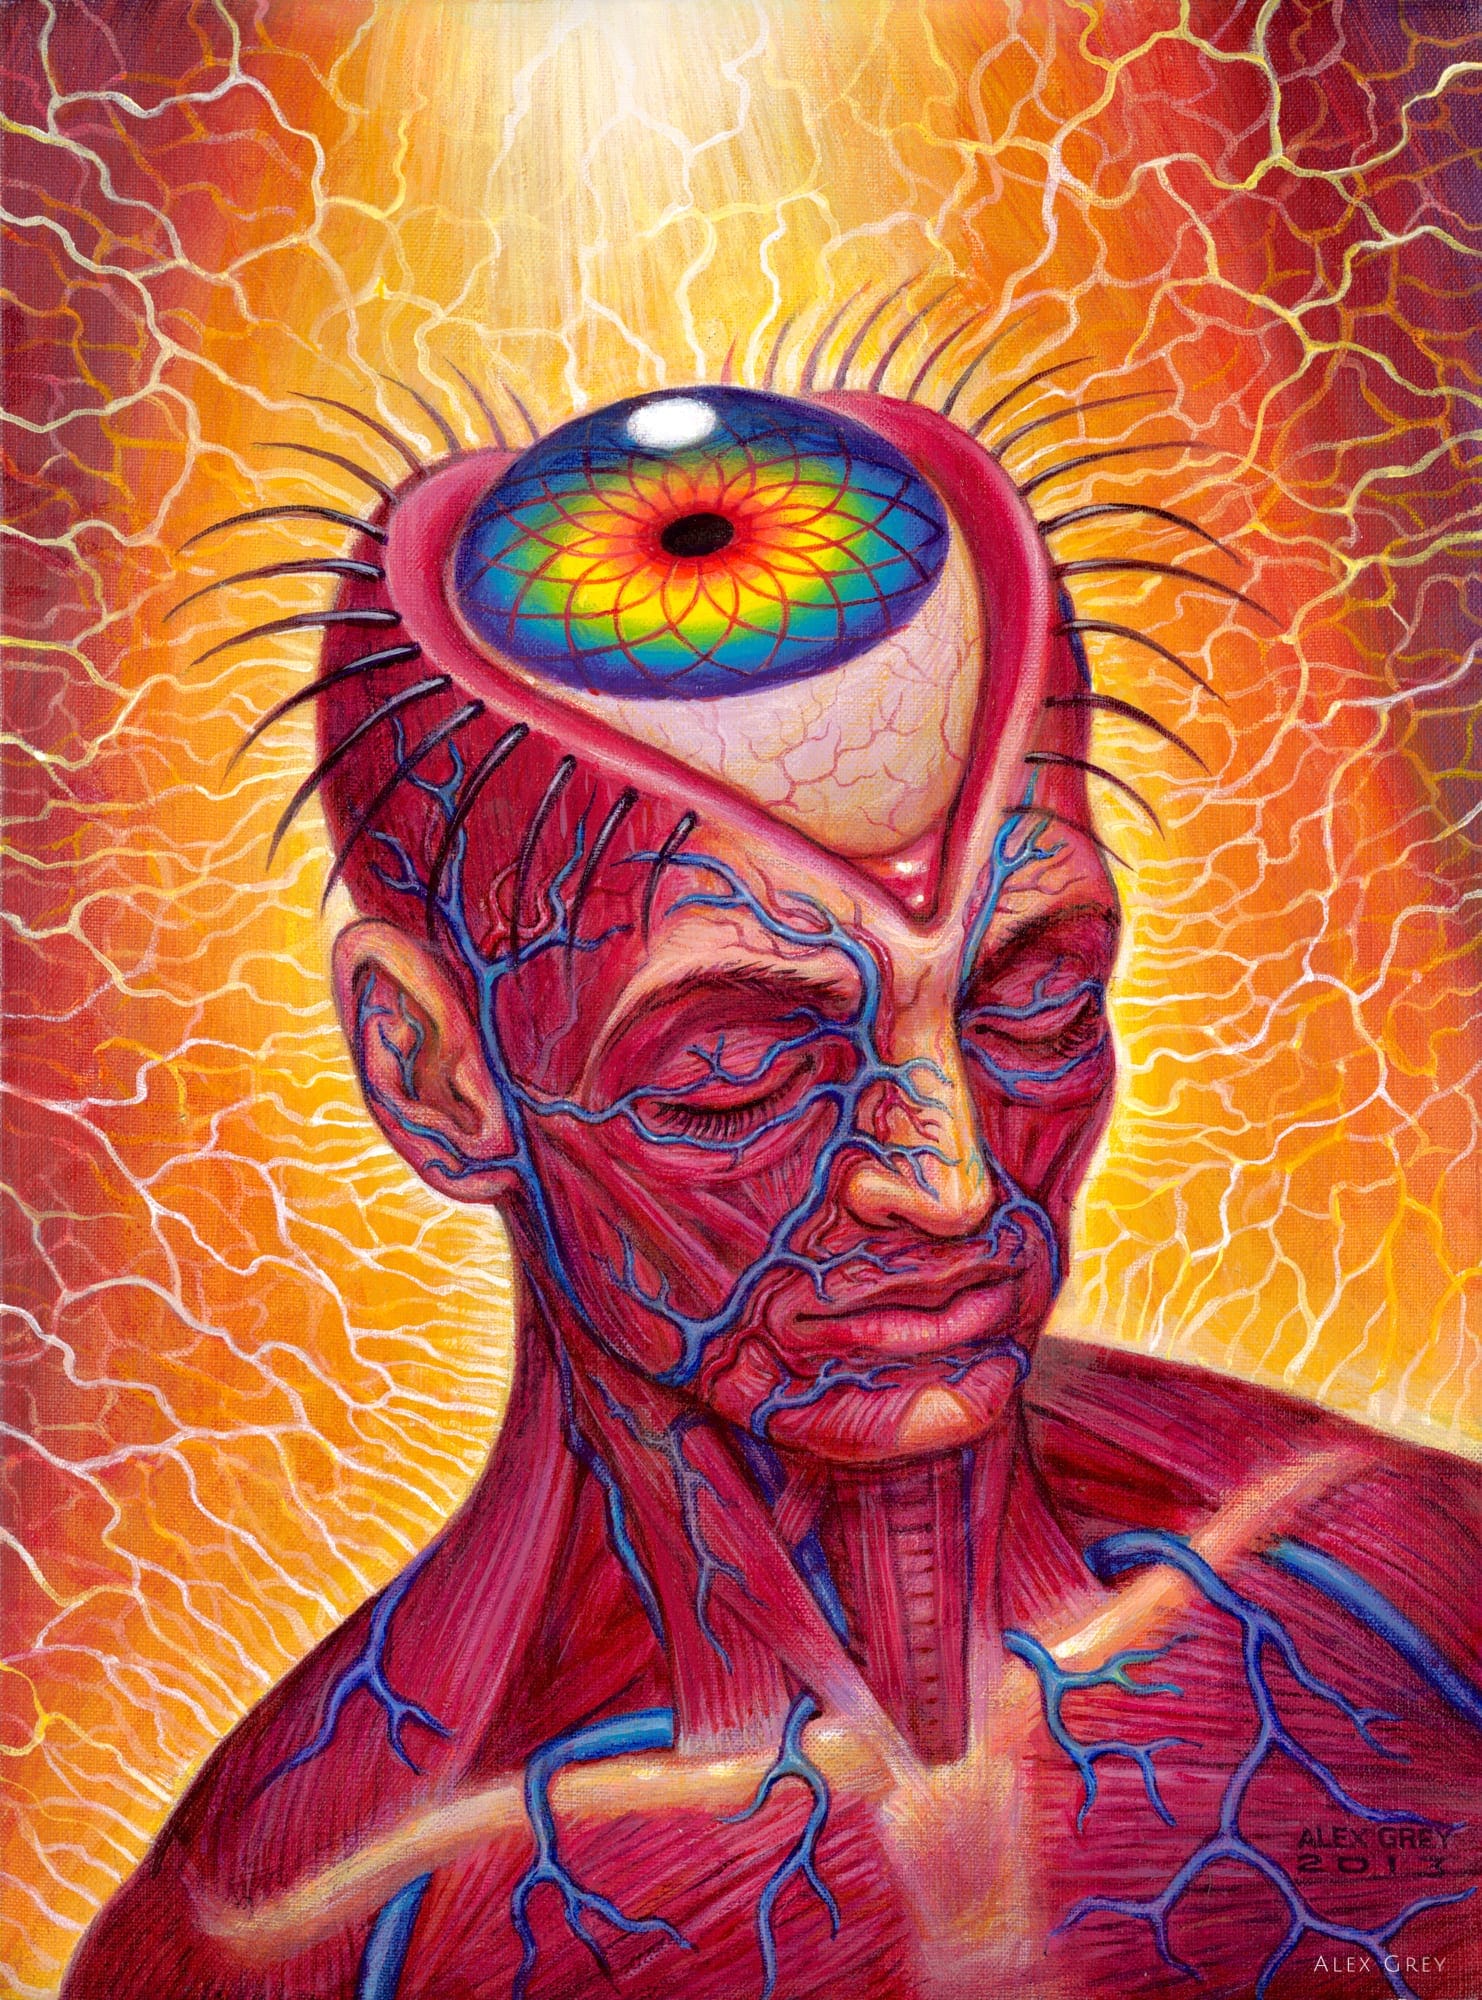
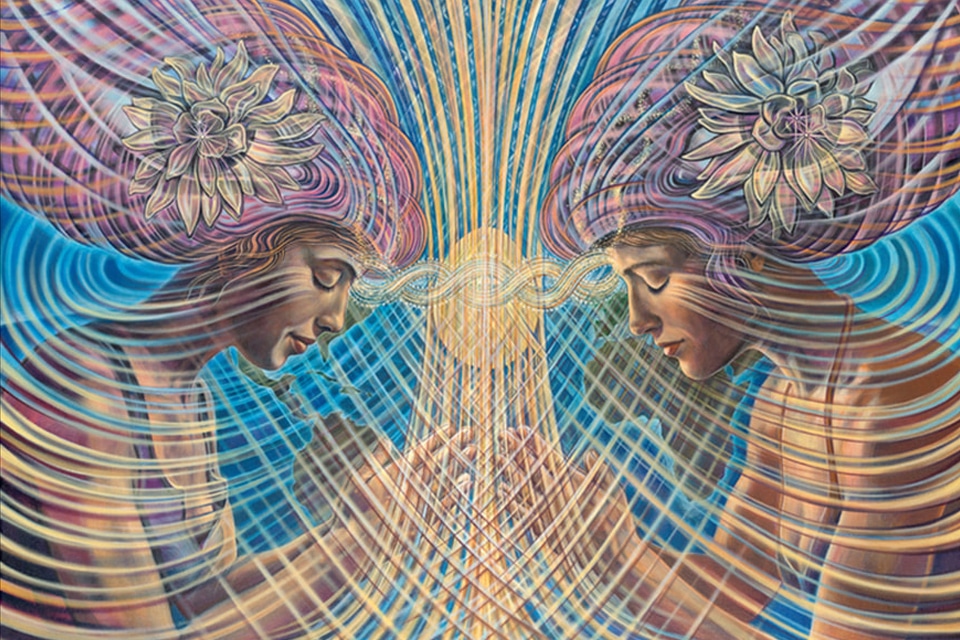
VISIONARY ART:
// Slide Show #1
<script type="text/javascript">
//put this in the <head> of your .html page :)
var slideimages = new Array() // create new array to preload images
slideimages[0] = new Image() // create new instance of image object
slideimages[0].src = "1.jpg" // set image src property to image path, preloading image in the process
slideimages[1] = new Image()
slideimages[1].src = "2.jpg"
slideimages[2] = new Image()
slideimages[2].src = "3.jpg"
slideimages[3] = new Image()
slideimages[3].src = "4.jpg"
//Image Src:
<img src="1.jpg" width="500" height="500" id="slide">
//AND more JavaScript:
<script type="text/javascript">
// put this javaScript after your image src.
//variable that will increment through the images
var step=0
function slideit(){
//if browser does not support the image object, exit.
if (!document.images)
return
document.getElementById('slide').src = slideimages[step].src
if (step<3)
step++
else
step=0
//call function "slideit()" every 2.5 seconds
setTimeout("slideit()",2500)
}
slideit()
</script>
...What's jQuery?
lightBox: lightbox-plus-jquery.min.js
Things you need (for lightBox :)
*Make sure you have prev.png, next.png, close, etc... in an "images" folder saved as images
/* css: ( put this in your <head> section...) */
<link href="css/lightbox.css" rel="stylesheet">
// js: ( put this above your "closing" </body> tag! )
<script src="js/lightbox-plus-jquery.min.js"></script>
<!-- html images: -->
<a href="1.jpg" data-lightbox="visionary" data-title="Art by Amanda Sage">
<img src="1.jpg"></a>
<a href="2.jpg" data-lightbox="visionary" data-title="Art by Olga Klimova">
<img src="2.jpg"></a>
HOMEWORK:
*Make improvements
on Project #1,
and document what you edited.
*Get started on Project #2:
- Come up with an idea!!
- Write 2 paragraphs about the research project. (and save it as a .pdf file)
- Think of how to apply user experience design to a website.
- Draw wire frames and a site structure.
- Design and build an informative website based on your research.
- familiarize yourself with HTML & CSS, start planning the website
- do some research
- start designing and building an informative website based on your research.
(background, typefaces, font colors, etc.)